In this tutorial, you will learn how to use the Mesh Tool in Adobe Illustrator to create a vector T-Shirt mockup template!
If you want to skip the tutorial and just use these shirts in your work, purchase the T-Shirt Design Template from GraphicRiver!
Or, if you prefer to use Photoshop, simply grab a T-shirt mockup PSD template from this handy list:
You can also a try a similar tutorial of mine, where you can learn how to apply patternsto these T-Shirt mockup templates!

1. How to Draw a T-Shirt Mockup Template
Step 1
Let's learn how to use the Mesh Tool while creating a photo-realistic T-shirt!
Begin by drawing the shape of half of a shirt with the Pen Tool (P). Fill it in with #F3F3F3.
Create a copy of the shape! Put it aside—we will need it later.
Let's start using a Mesh! Take the Mesh Tool (U)
and start creating a Mesh grid on the object by placing nodes.
Afterwards, select the nodes on the left edge of the shirt and
change their color to #B7B7B7.
Add some more nodes, as indicated in the screenshot below, and color the selected nodes with #F4F4F4, adding wrinkles to the shirt.

Step 2
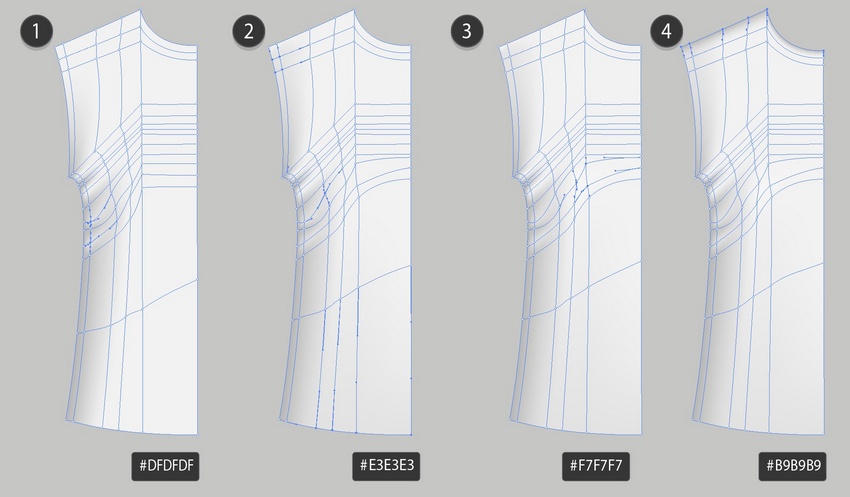
Continue coloring the nodes as indicated below. Use these colors:
#DFDFDF#E3E3E3#F7F7F7#B9B9B9

Step 3
Take the second copy of the shirt, reflect it, and continue coloring.
#F3F3F3#B7B7B7#D9D9D9#EEEEEE

Step 4
Finish the second half.
#CFCFCF#C4C4C4#B9B9B9#E3E3E3

Step 5
Draw a sleeve.
#EAEAEA#BDBDBD#B6B6B6#CFCFCF#DADADA#BDBDBD

Step 6
#E9E9E9#C0C0C0#F4F4F4

Step 7
Bend the Mesh into a collar with Effect > Warp > Arc, using -85% Bend.
Object > Expand Appearance of the result.

Step 8
Draw the second part of the collar.
#6A6A6A#979797

Step 9
Combine the collar parts.

Step 10
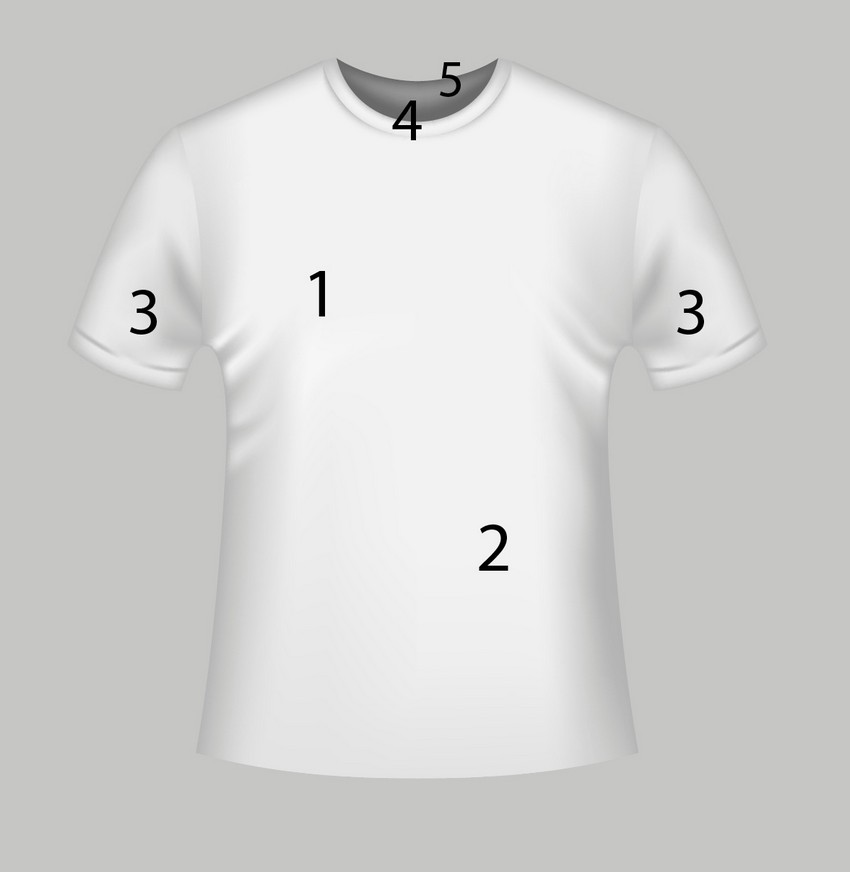
Assemble the T-shirt mockup!

2. How to Recolor the T-Shirt Mockup Template
Step 1
To get all the colors you can see in the thumbnail, create three more copies of the white shirt we just made.
Grab a copy and proceed to Edit > Edit Colors > Adjust Colors. Change the tab to Greyscale and apply 32% Black. Don't forget to tick the Convert box.

Step 2
Create two more copies of the grey shirt mockup we just made. Grab the original and recolor it with Edit > Edit Colors > Adjust Colors.
This time, change the tab to RGB and apply 18% Red, -30% Green, and -26% Blue. Don't forget to tick the Convert box.

Step 3
Take another copy and essentially repeat the last step by going to Edit > Edit Colors > Adjust Colors, changing the tab to RGB and applying 6% Red, 13% Green, and -60% Blue.

Step 4
Take the final copy and convert it to orange with 27% Red, -5% Green, and -41% Blue.

Step 5
Grab one of the original white T-Shirts and convert it to Grayscale with 40% Black.

Step 6
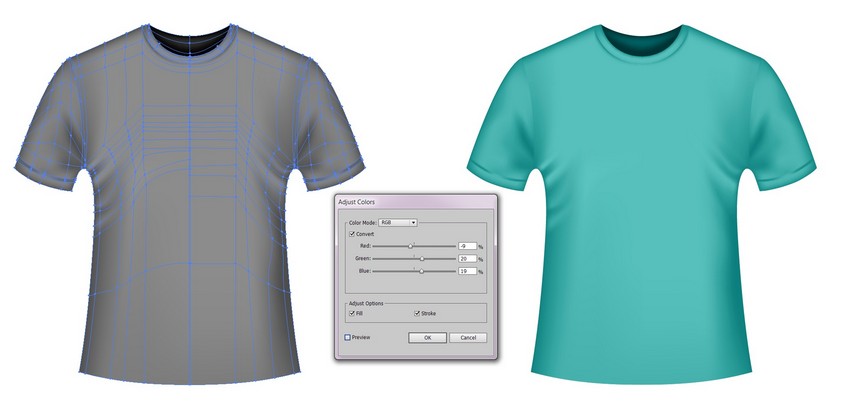
Recolor the grey template to cyan with -9% Red, 20% Green, and 16% Blue.

Step 7
Take the last white copy and turn it black with 63% Black.

Step 8
Create a copy of the black T-Shirt mockup and recolor it to dark red with 9% Red, -9% Green, and -7% Blue.

Step 9
Congratulations! Your colorful set of T-Shirt mockup templates is done!

Awesome Work!
What now? You can try any of my other tutorials from my profile, or check out my portfolio on GraphicRiver, as well as the original shirts collection we recreated in this tutorial.
You can also try a similar tutorial of mine, where I show a way to apply patternsto these T-Shirt mockups!
I hope you enjoyed the tutorial, and I'll be extremely happy to see your results in the comments below!


